How to Use a Mixing Console: A Beginner's Guide to Understanding Every Channel Strip

Walk into any recording studio or live venue and you'll likely find a mixing console packed with knobs, faders, buttons, and inputs. At first glance, it can feel overwhelming — especially if you're just starting your journey into audio production.
The good news is that you don't need to memorize every control on the desk to begin using it effectively.
In fact, once you understand how a single channel strip works, you've already learned the foundation of the entire mixing console. Every channel follows the same basic signal path, making even large-format mixers much easier to understand than they first appear.
Whether you're recording music, mixing a live band, producing a podcast, or running sound for events, learning the basics of a channel strip is one of the most valuable audio skills you can develop.
What Is a Mixing Console?
A mixing console — also called a mixing desk, mixing board, or audio mixer — is the control center of an audio system.
Its job is to receive audio signals from microphones, instruments, playback devices, and other sound sources, then allow the engineer to adjust, process, and combine those signals before sending them to speakers, recording equipment, or streaming platforms.
Modern mixers are used in nearly every type of audio production, including:
- Recording studios
- Live concerts
- Podcast production
- Houses of worship
- Broadcast studios
- Video production
- Home recording setups
Although mixers vary in size and features, their core design remains remarkably consistent.
Understanding the Channel Strip
Think of each channel strip as a dedicated pathway for a single sound source.
One microphone? One channel. One guitar? Another channel. One keyboard? Another channel.
Once you learn how one strip functions, you've effectively learned how the rest of the mixer operates.
While different manufacturers organize controls slightly differently, most channel strips include the same essential sections.
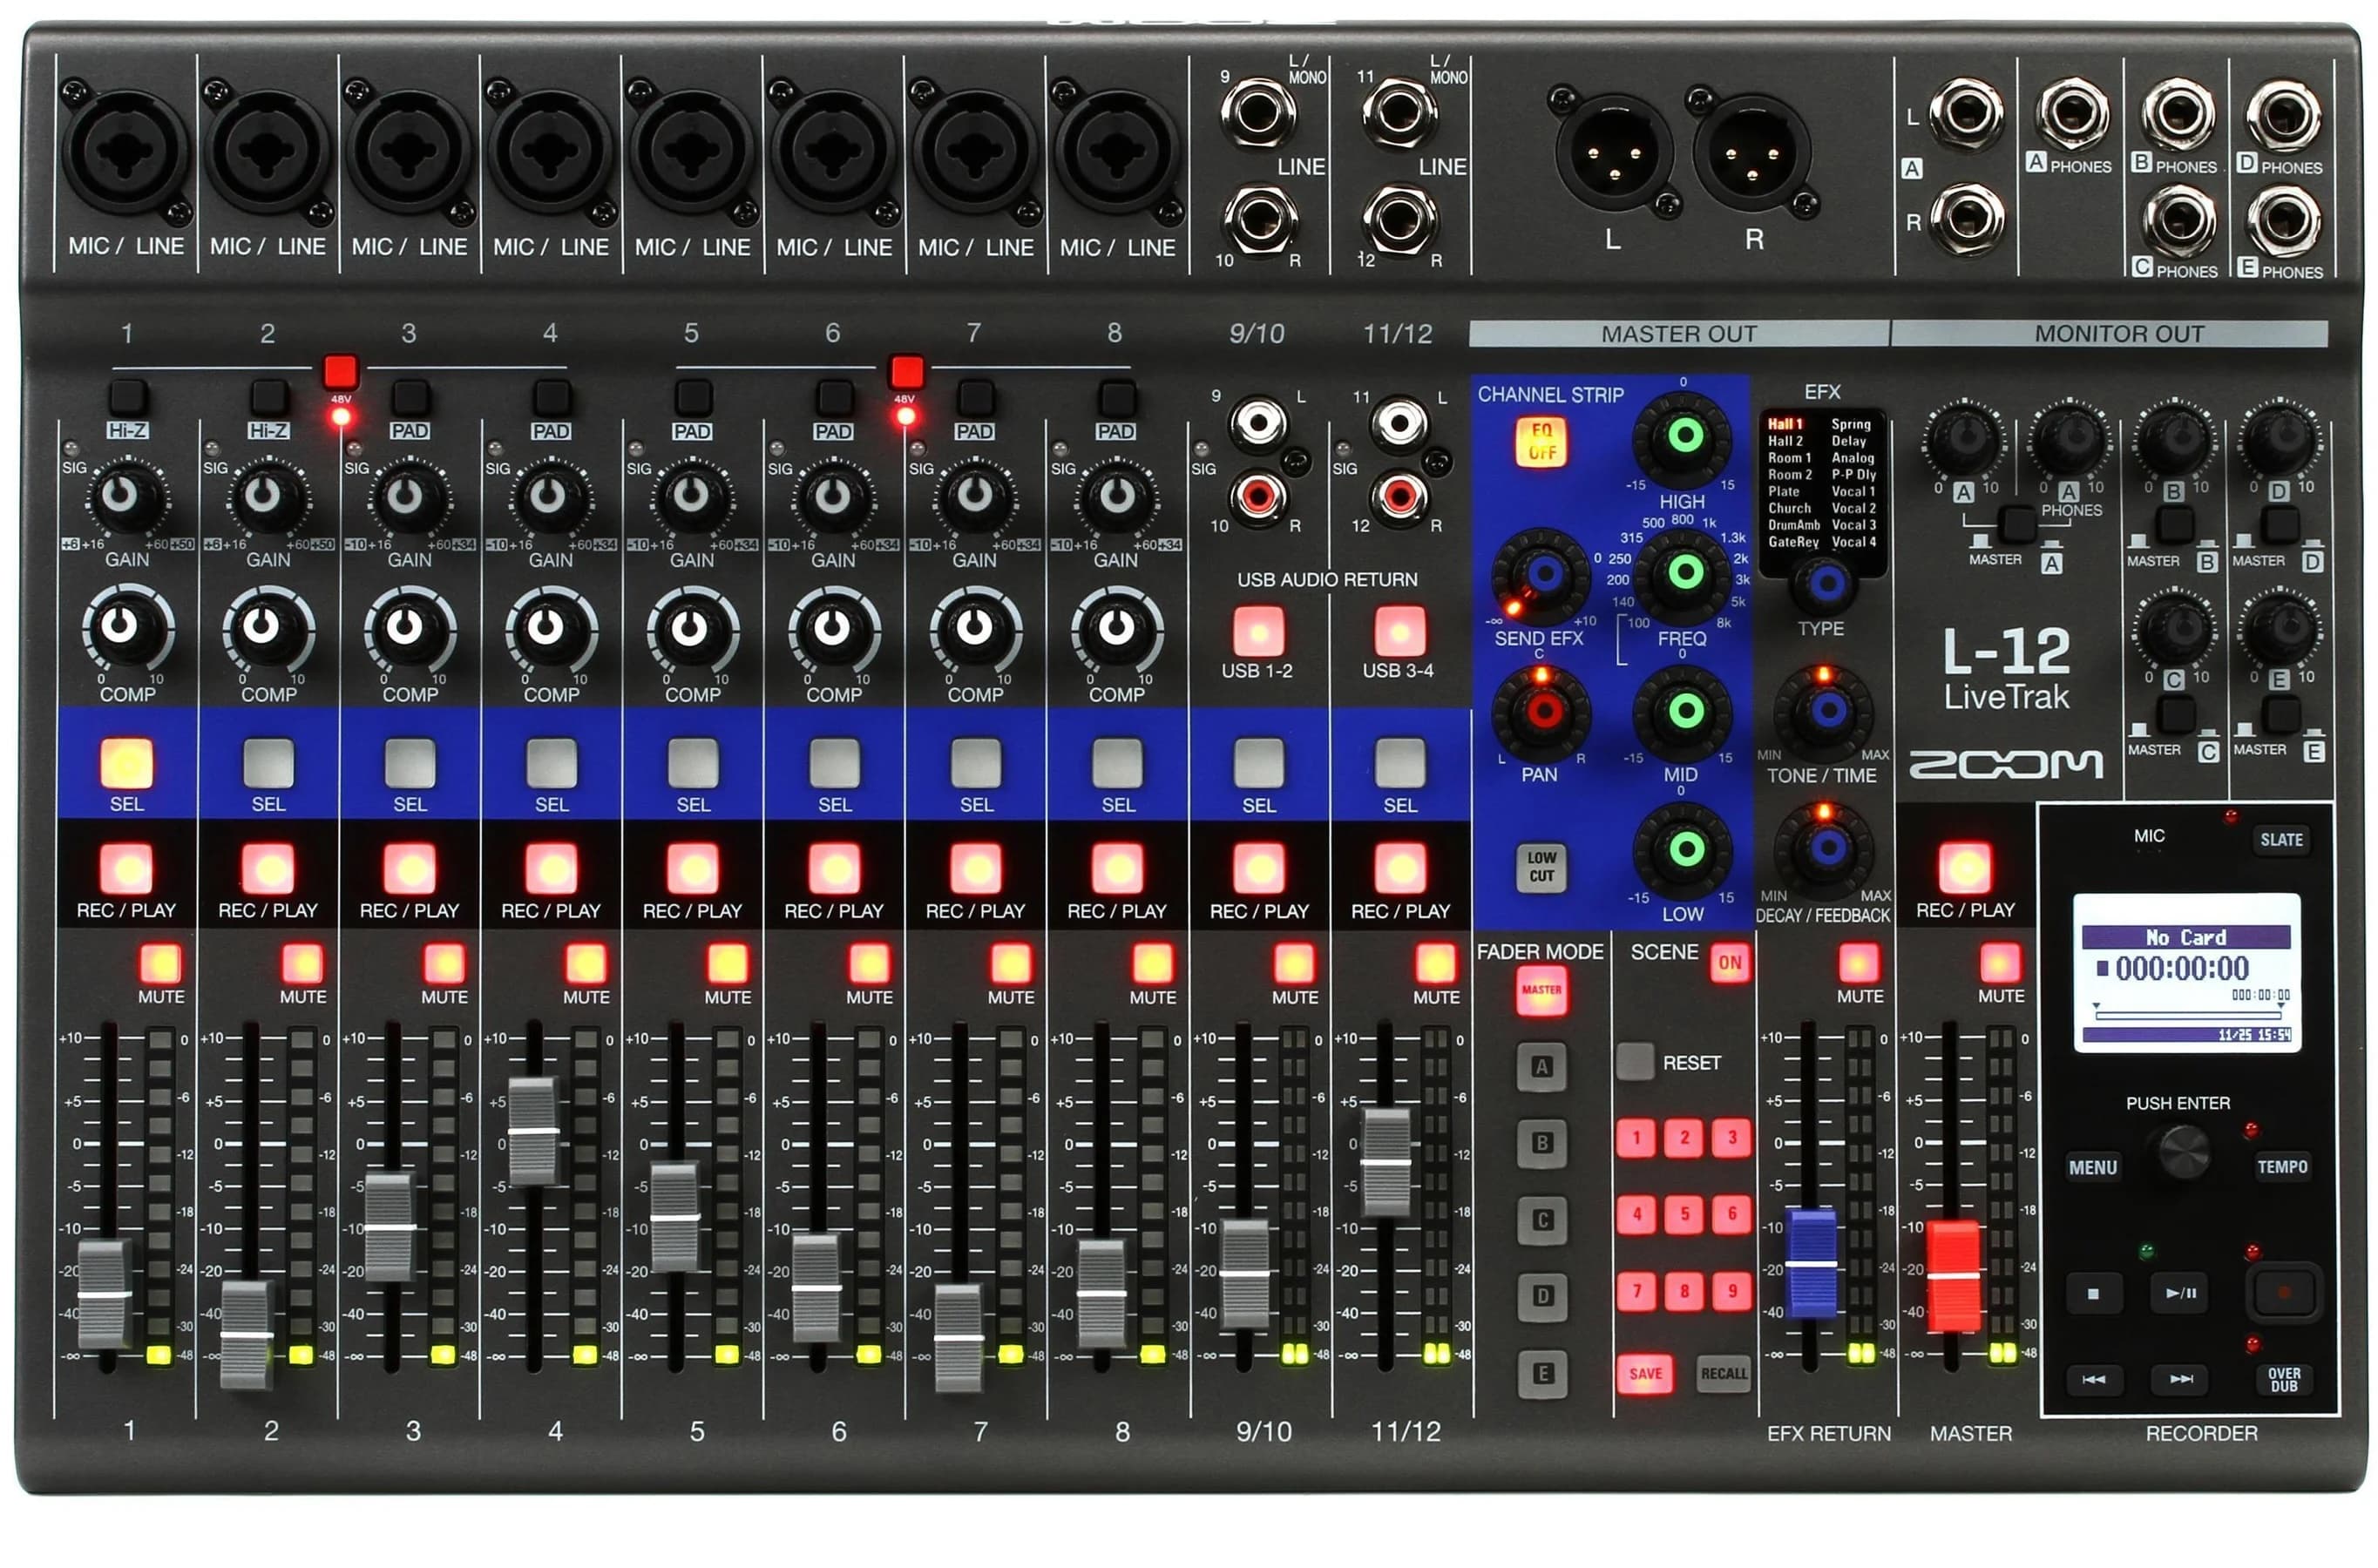
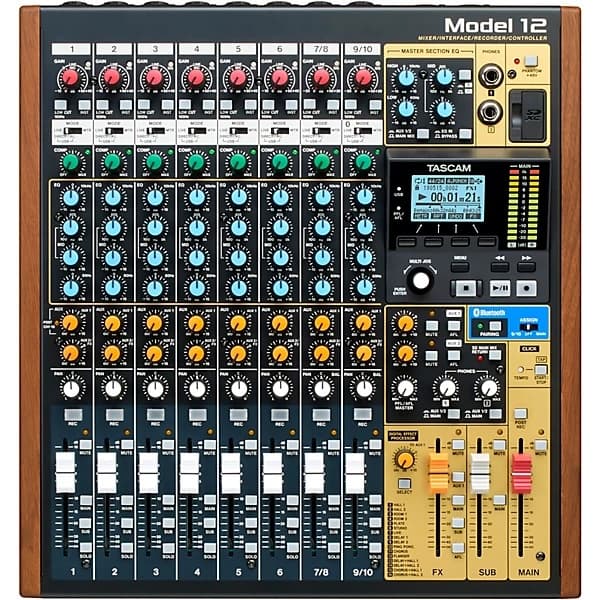
1. Input Gain: Setting the Right Signal Level
The signal path begins with input gain, sometimes labeled as trim or preamp gain.
This control adjusts the strength of the incoming audio before any processing takes place.
Setting gain correctly is crucial because it determines how clean and balanced the rest of your mix will be. Too little gain can introduce unwanted noise, while too much can cause distortion or clipping.
A properly adjusted input provides enough headroom for the rest of your processing without sacrificing clarity.
2. Equalization (EQ): Shaping the Sound
Next comes the EQ section. Equalization allows you to adjust different frequency ranges to improve clarity and create space within a mix.
Common EQ controls include:
- High frequencies
- Mid frequencies
- Low frequencies
Some mixers also offer sweepable mids or fully parametric EQ for more detailed adjustments.
Rather than dramatically boosting frequencies, many engineers prefer making subtle cuts to remove unwanted sounds and help instruments fit together naturally.
3. Auxiliary Sends: Creating Separate Mixes
Auxiliary sends — often called Aux Sends — allow you to send a copy of a signal somewhere other than the main output.
These are commonly used for:
- Stage monitor mixes
- External effects processors
- Headphone mixes
- Recording feeds
For example, a singer may need more vocals in their monitor while the drummer wants additional bass guitar. Aux sends make these independent mixes possible without affecting the audience's main sound.
4. Pan Control: Placing Sounds in the Stereo Image
The pan control determines where a signal sits between the left and right speakers.
In stereo music production, thoughtful panning helps create width, separation, and a more immersive listening experience.
A balanced stereo image prevents multiple instruments from competing for the same space and gives each element room to breathe.
5. The Channel Fader: Controlling Overall Level
Perhaps the most recognizable part of any mixer is the fader.
Once gain, EQ, and other settings have been established, the fader controls how much of that channel reaches the final mix.
Many beginners mistakenly rely on the fader to fix poorly set gain levels.
In reality, proper gain staging comes first, while the fader is used to create musical balance between instruments.
6. Mute and Solo Buttons
Most mixers include both Mute and Solo functions.
Mute temporarily removes a channel from the main mix.
Solo isolates a channel so you can hear it by itself without changing the audience's mix.
These controls are invaluable during troubleshooting, sound checks, and detailed mixing sessions.
Following the Audio Signal
One of the most important concepts for beginners is understanding signal flow.
Audio typically moves through the channel in a logical order:
Input → Gain → EQ → Auxiliary Sends → Pan → Fader → Main Output
Once you understand this path, operating even large professional consoles becomes much less intimidating because every channel repeats the same workflow.
Analog vs. Digital Mixing Consoles
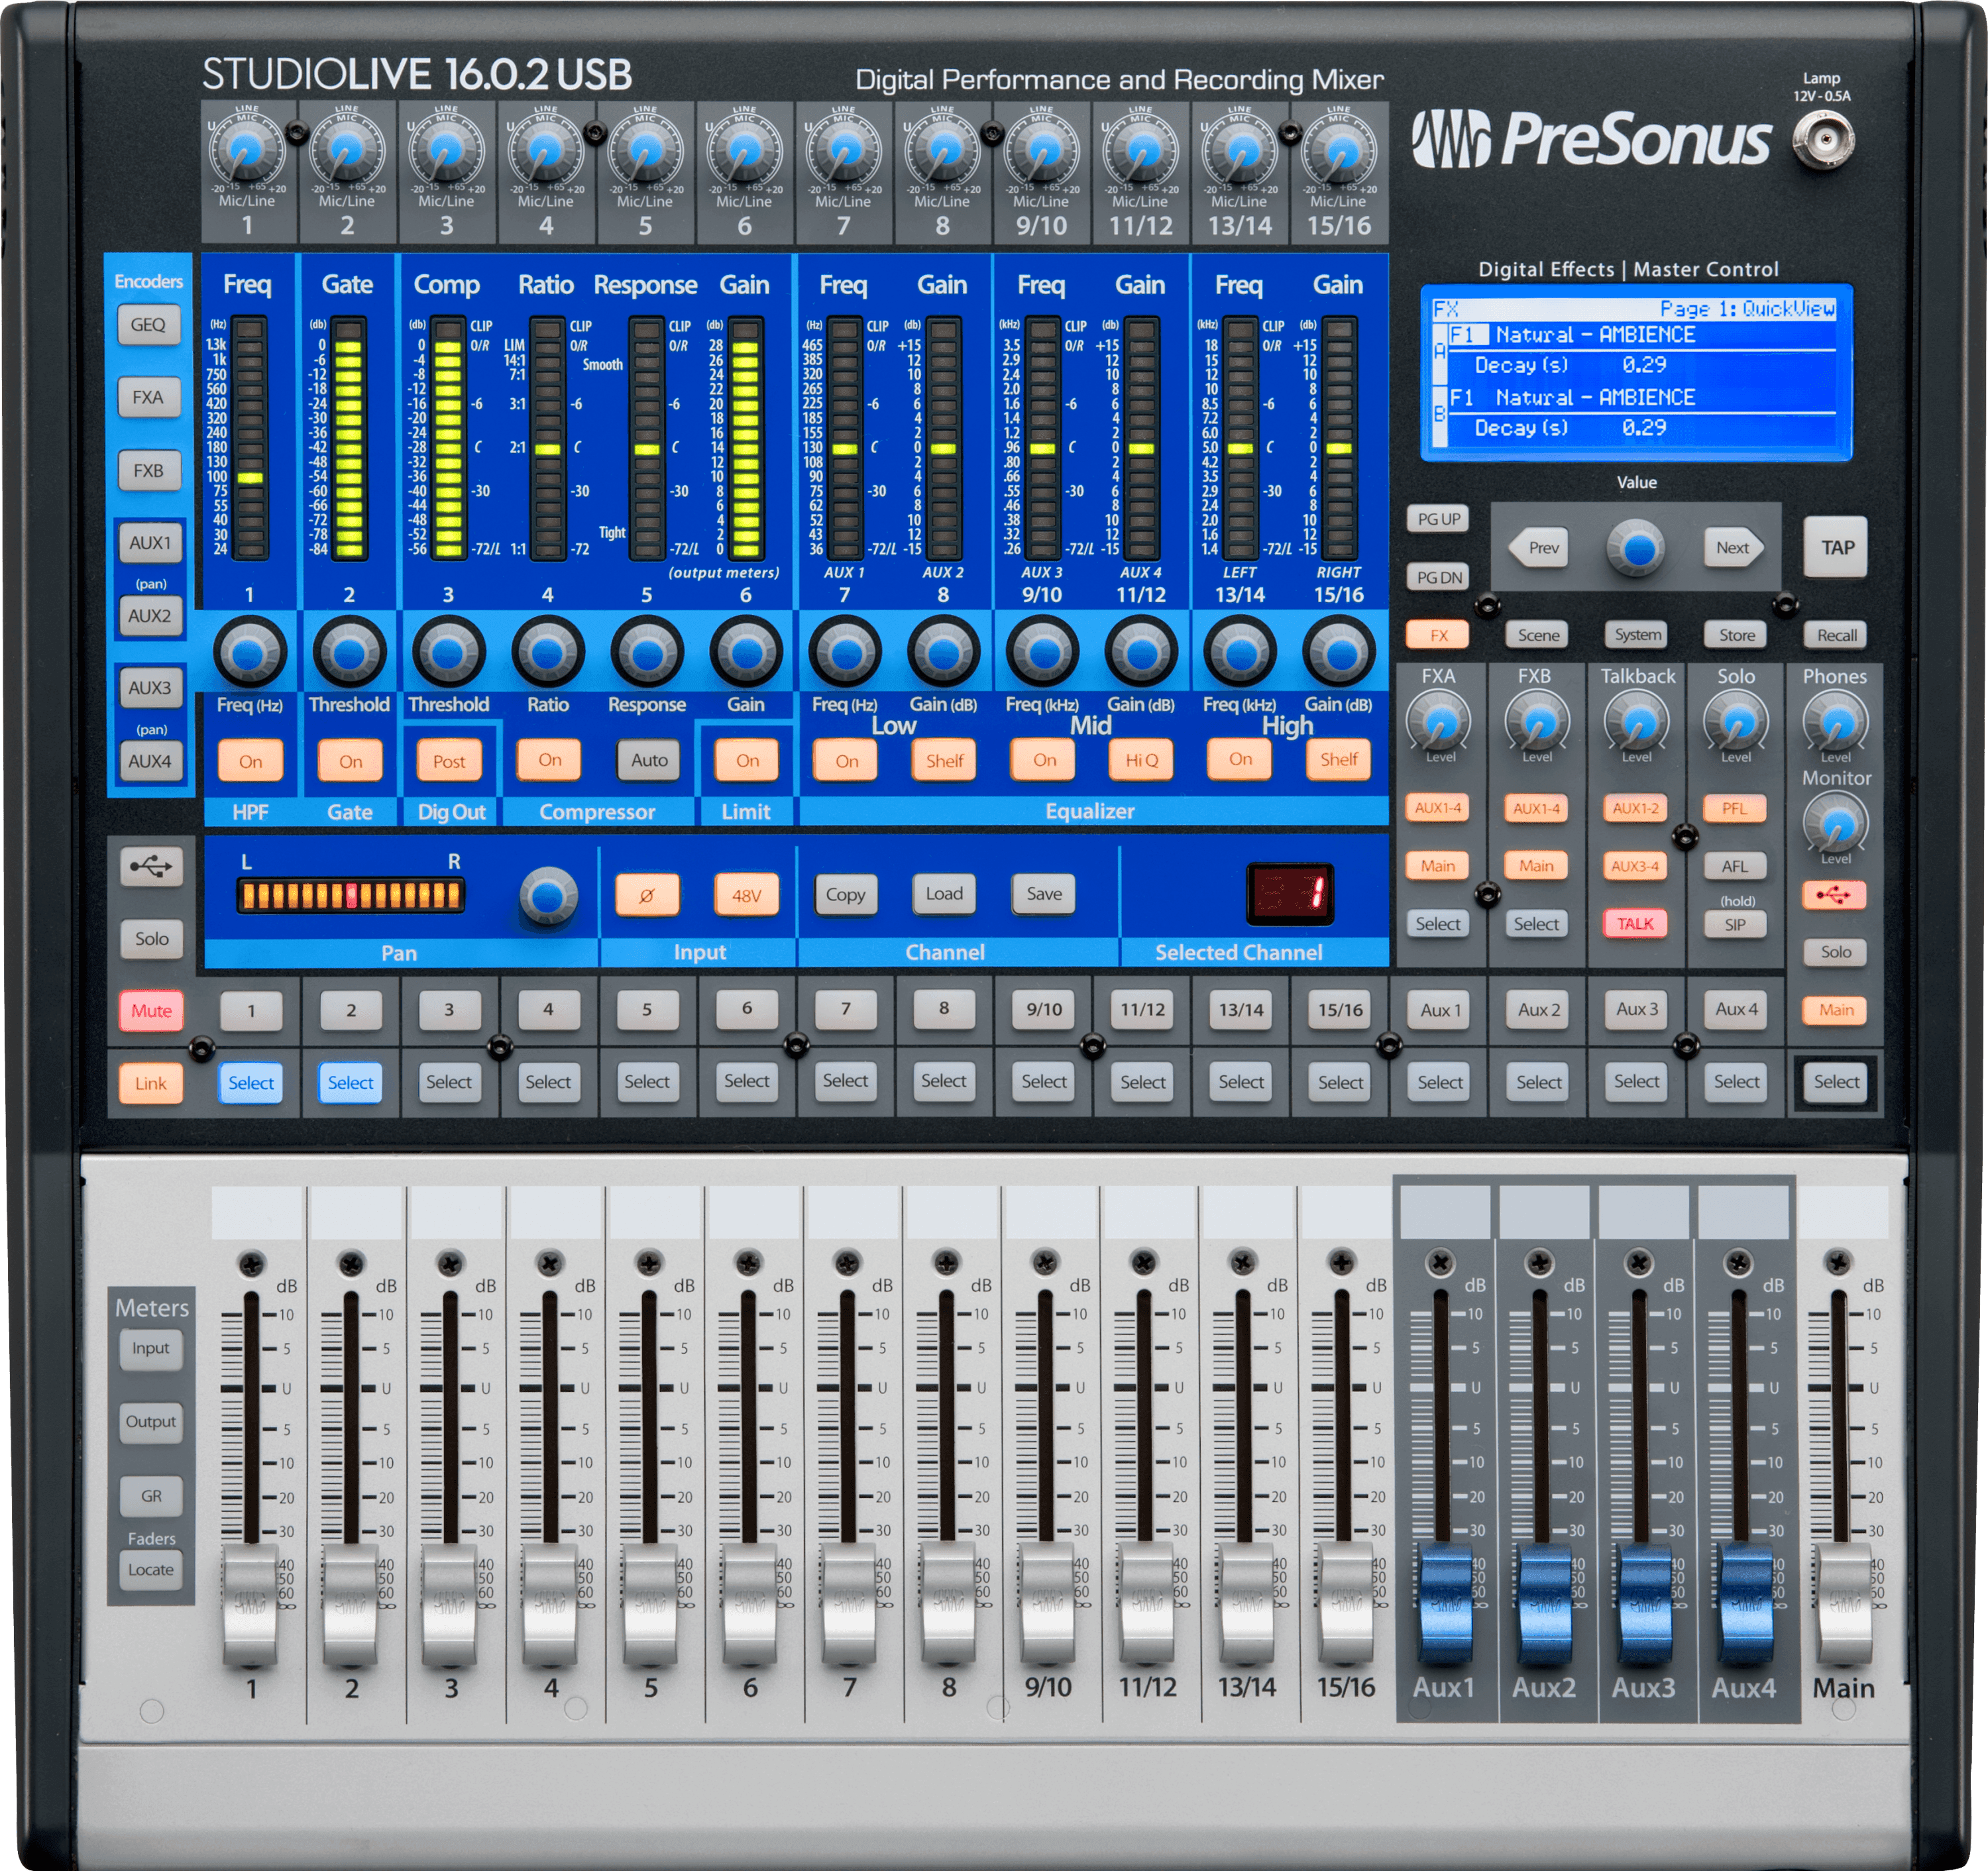
Today's engineers often work with both analog and digital mixers.
Analog Mixers
Analog consoles provide dedicated physical controls for nearly every function, making them intuitive and quick to operate.
Digital Mixers
Digital consoles offer advanced routing, onboard effects, scene recall, wireless control, and extensive processing while often requiring fewer physical controls.
Although their interfaces differ, both follow the same basic channel-strip principles.
Learning one makes transitioning to the other much easier.
Common Mistakes New Engineers Make
When learning to mix, it's easy to focus on individual controls instead of the overall signal path.
Some of the most common beginner mistakes include:
- Setting gain too high
- Overusing EQ
- Ignoring proper gain staging
- Creating unbalanced monitor mixes
- Relying solely on the master fader
- Mixing visually instead of listening carefully
Developing good habits early will improve both live sound and studio recordings.
Why Understanding One Channel Matters
Professional mixing engineers don't memorize dozens of different consoles.
Instead, they understand the underlying principles shared by nearly every mixer on the market.
Whether you're using a compact podcast mixer, a live concert console, or a large recording desk, each channel performs the same essential job: receiving, processing, and routing audio.
Mastering one channel strip gives you the confidence to approach virtually any mixing console with a solid understanding of how signals move through the system.
Final Thoughts
Learning how to use a mixing console doesn't have to be intimidating.
By focusing on a single channel strip and understanding how audio flows from input to output, you'll build a foundation that applies to nearly every analog and digital mixer available today.
Whether you're recording vocals, mixing a live band, producing podcasts, or managing audio for events, these core principles remain the same.
As your experience grows, you'll discover that successful mixing isn't about memorizing hundreds of controls — it's about understanding signal flow, making thoughtful adjustments, and trusting your ears.
Build a Better Mixing Setup
A quality mixing console is only one part of a reliable audio system. To get the best results, consider pairing your mixer with complementary studio and live sound equipment such as:
- Dynamic microphones for vocals and instruments
- Audio interfaces for recording into your DAW
- Studio monitor speakers
- Closed-back headphones for accurate monitoring
- USB and XLR microphones for podcasting
- Portable PA speakers for live events
- Audio cables and DI boxes
- MIDI controllers for music production
A well-designed recording or live sound setup helps you capture cleaner audio, work more efficiently, and achieve better mixes from the very first session. Browse our music studio gear for mixers, microphones, interfaces, and the rest of your rig.
Frequently Asked Questions
What does a mixing console do?
A mixing console receives audio from multiple sources, allowing you to adjust volume, EQ, routing, effects, and stereo placement before sending the final mix to speakers or recording devices.
What is a channel strip?
A channel strip is the dedicated signal path for a single audio source. It typically includes gain, EQ, auxiliary sends, pan controls, mute/solo buttons, and a fader.
Is it difficult to learn audio mixing?
Not necessarily. Once you understand the workflow of one channel strip and basic signal flow, the rest of the mixer becomes much easier to understand.
What's the difference between an analog and digital mixer?
Analog mixers use dedicated physical controls, while digital mixers provide software-driven processing, scene recall, built-in effects, and advanced routing. Both follow the same core signal path.
What should beginners learn first?
Start by understanding gain staging, signal flow, EQ basics, and how each channel strip functions. These skills form the foundation of both live sound and studio mixing.